Step by step guide to set up printing
This is a step-by step guide to add the new SHARP printers to your CUPS configuration under Linux.
As a preparation, make sure that the hpijs, foomatic, smbclient, and cifs-utils packages are installed on your computer.
After you have installed the necessary packages, on newer (>2018) linux installations, you may need to edit the file /etc/samba/smb.conf. After the line
add the lineworkgroup = WORKGROUP
On Ubuntu 20.04 (and maybe other distributions using some (newer?) versions of smbclient/samba) it may be necessary to also add the lineclient max protocol = NT1
client min protocol = NT1
You will also need a username (which will be the part of your email address before the @wigner.mta.hu) and a password (obtained from gazdadmin@wigner.mta.hu. You will also need either your entry card or a PIN code to use the printer. Note that the password and the PIN codes are not the same!
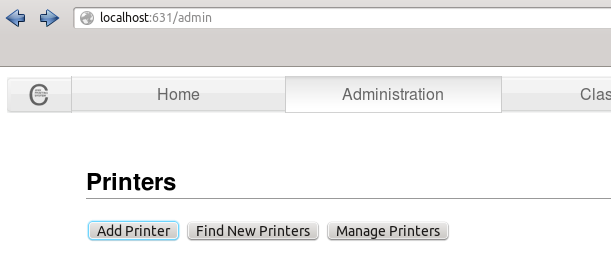
First go to http://localhost:631 and click
Add Printer! If you are asked for a password, you shall enter the username and password you use on your computer (on Ubuntu), or "root" and the root password
on your computer (e.g. SuSE Linux).
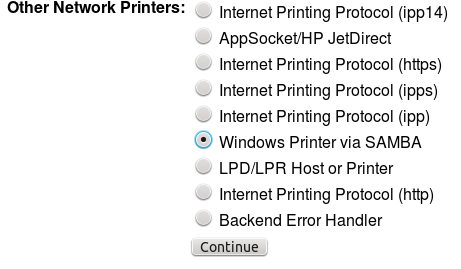
Select Windows Printer via SAMBA!
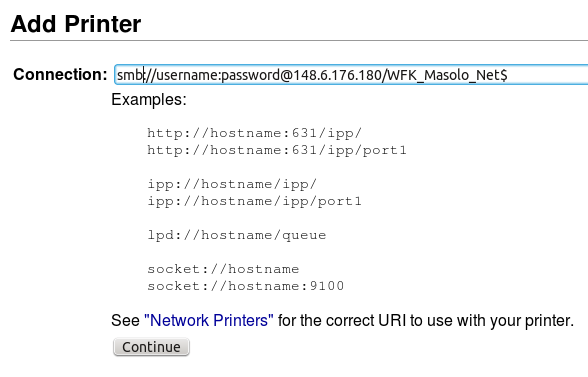
Enter
in the URI box.smb://username:password@148.6.176.180/WFK_Masolo_Net$
Replace username and password with your username (the part of your email address before @wigner.mta.hu) and password (given to you by the system administrator of the Financial Department) and not the PIN code.
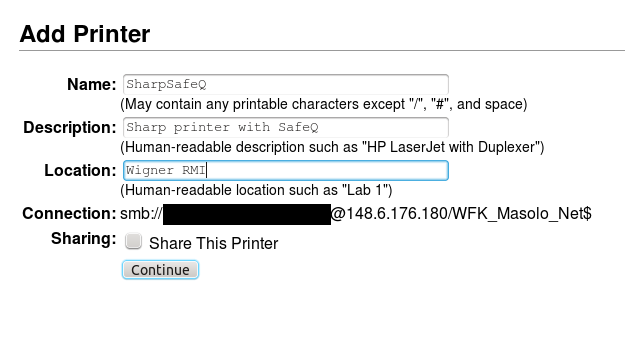
Give the printer a name (recommended: SharpSafeQ), and fill in the description and location (both optional).
Select Generic as the printer make.
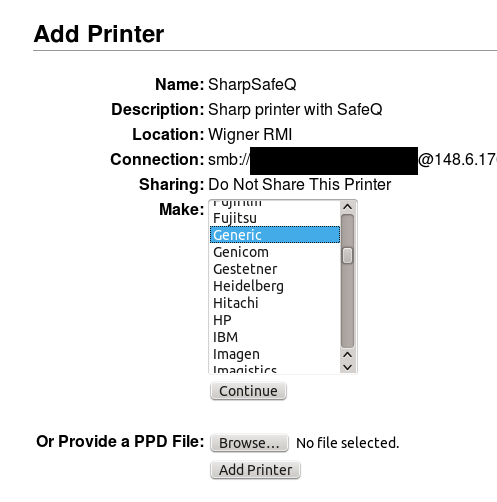
Select Generic PCL 6/PCL XL Printer Foomatic/hpijs-pcl5c (en) as the Printer Model.
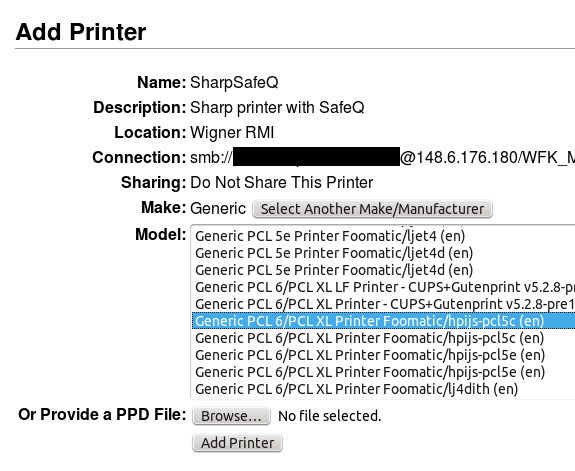 If you cannot find a driver for a Generic PCL 6 printer (and you are sure that you have foomatic and hpijs installed on your computer),
save this ppd file on your computer, and then click Browse and then select the file you just saved.
Set the Default Options as shown in the picture. It is recommended to set Greyscale as the default (use color only if necessary, it is
much more expensive) and Long-edge double sided printing to save paper.
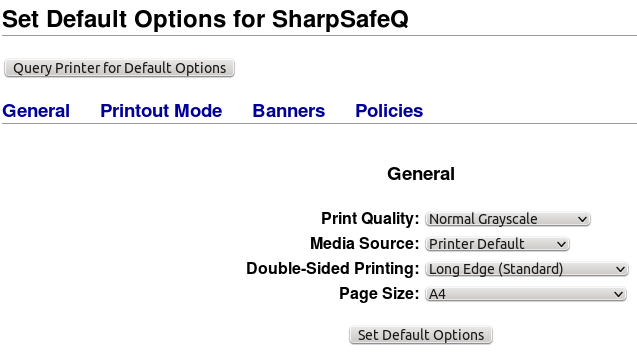
Please do not print a test page. It should work now.