Step by step guide
This is a step by step guide to add a printer to a Windows machine. It has been tested on Windows XP. The main steps, however, should work on other versions as well, with minimal modifications.
As a preparation, dowload the driver for the printer from the manufacturer's homepage,
and save it to your disk (we recommend to save them to a directory
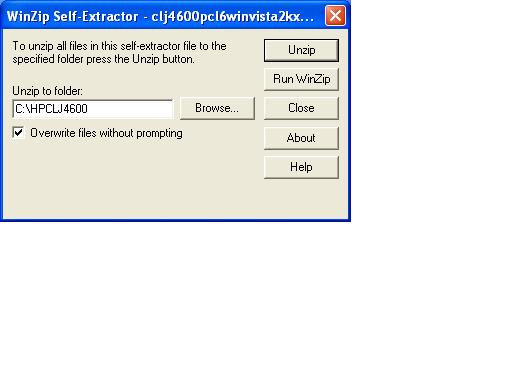
called e.g. Printers in My documents. If the driver is zipped or compressed into a self-extracting
archive (with extension .exe), you should also extract it, to a folder whose name you can remember (e.g.
c:\printerdriver, or you can use the name of the printer as the foldername).
If you have finished the above preparations, go click Settings in the Start menu and then Printers and faxes.
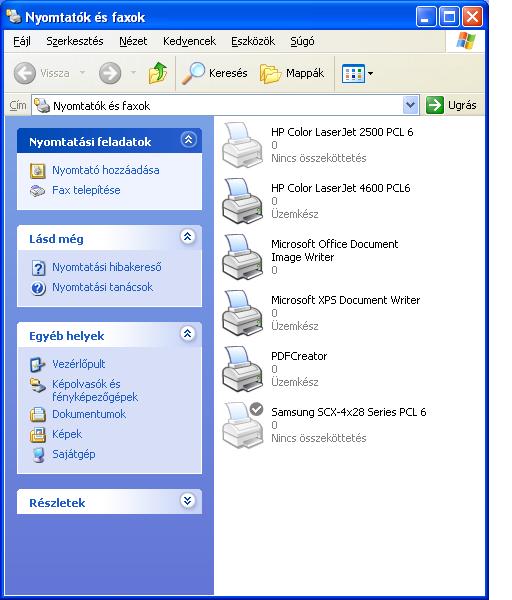
There, click File and Add printer and Next:
Click Local printer and deselect Automatically detect plug and play hardware:
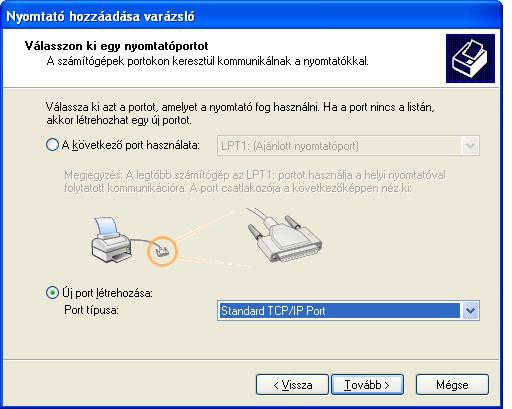
Choose the Create new port and select Standard TCP/IP port, then click Next
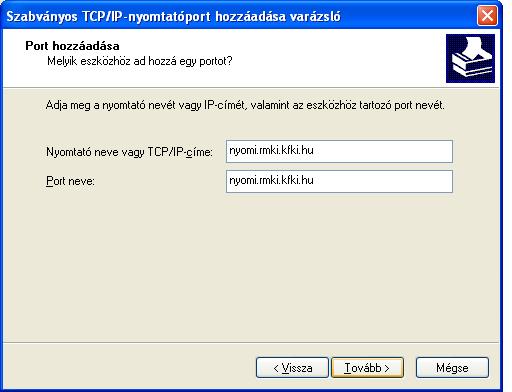
Enter the right hostname for the printer:
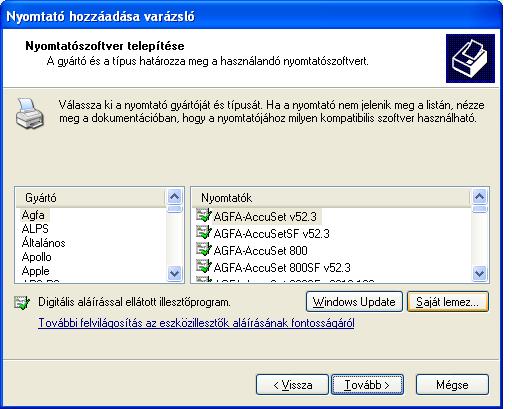
Click Have disk and then browse, navigate to the folder where you saved the driver.
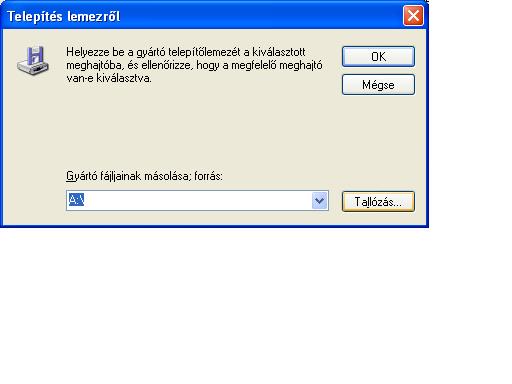
Navigate to the folder into which you extracted the driver:
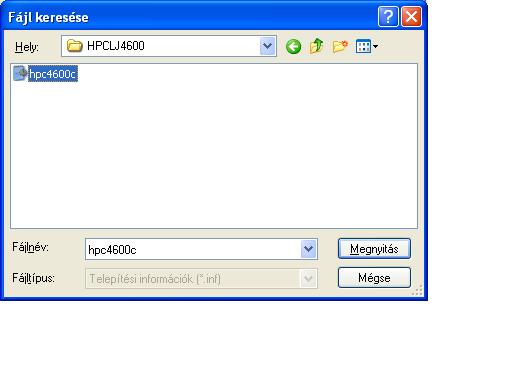
Choose the type of the printer:
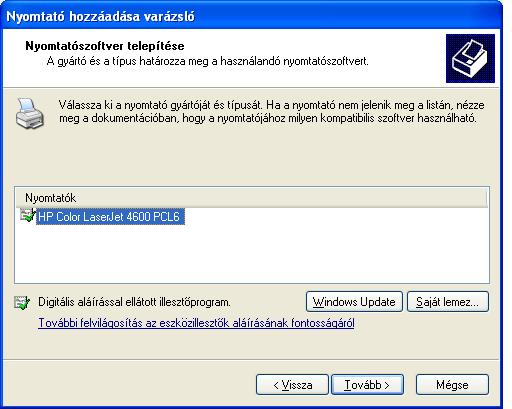
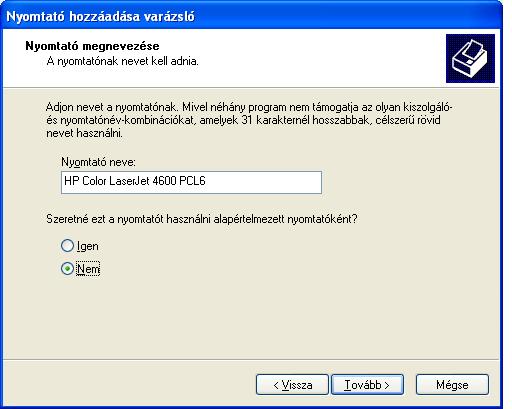
Give a name to the printer, and decide if you want to use it as default:
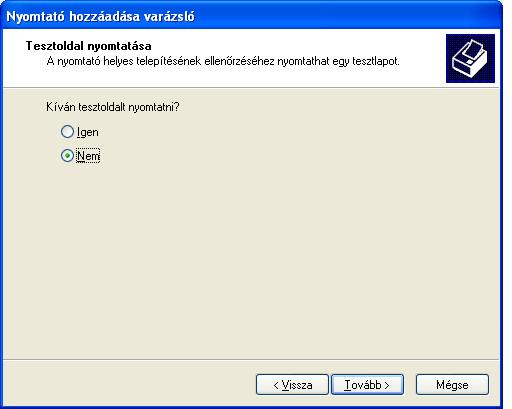
Please do not print a test page:
After you get back to the Printers and faxes window, right click the newly installed printer, and select
Properties
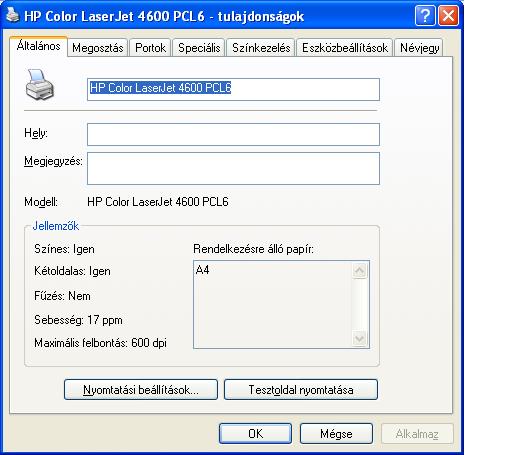
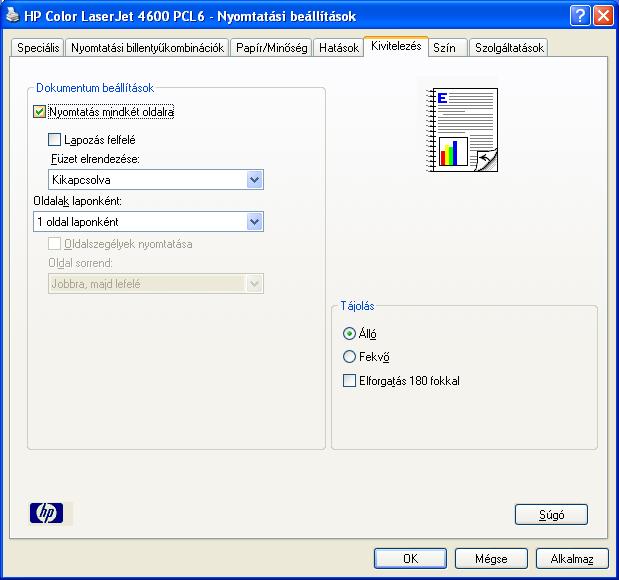
Click Print settings, go to Finishing and switch on printing to both sides of the paper:
